
Timestamps for documentation, legal, and personal purposes
Screenshots are an easy, invaluable tool for capturing and sharing what you see on the web. But as content on the internet becomes more fleeting, documenting when and where a screenshot was taken is becoming increasingly important.
In February of 2020, the USPTO updated their guidelines to require that “webpage specimens must include the URL and the date the page was accessed or printed.” In any sort of compliance or legal use case, a screenshot may not be able to serve as a specimen or exhibit without evidence of when it was taken.
Whether it’s for documentation, legal, or personal purposes, make sure you have a tool that can record when a screenshot was captured!
GoFullPage—how to download and access the timestamp features
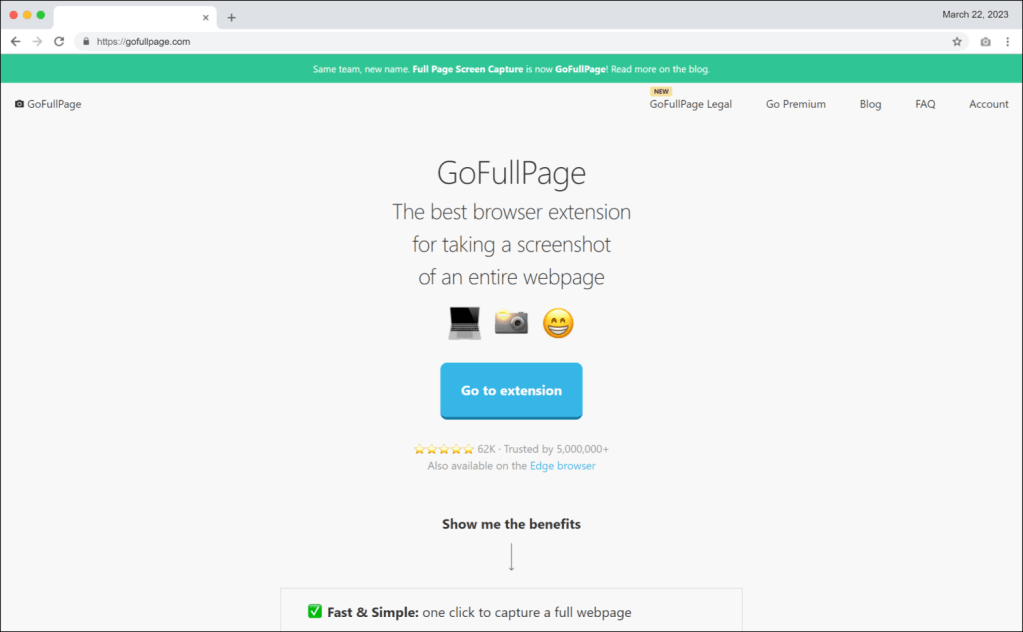
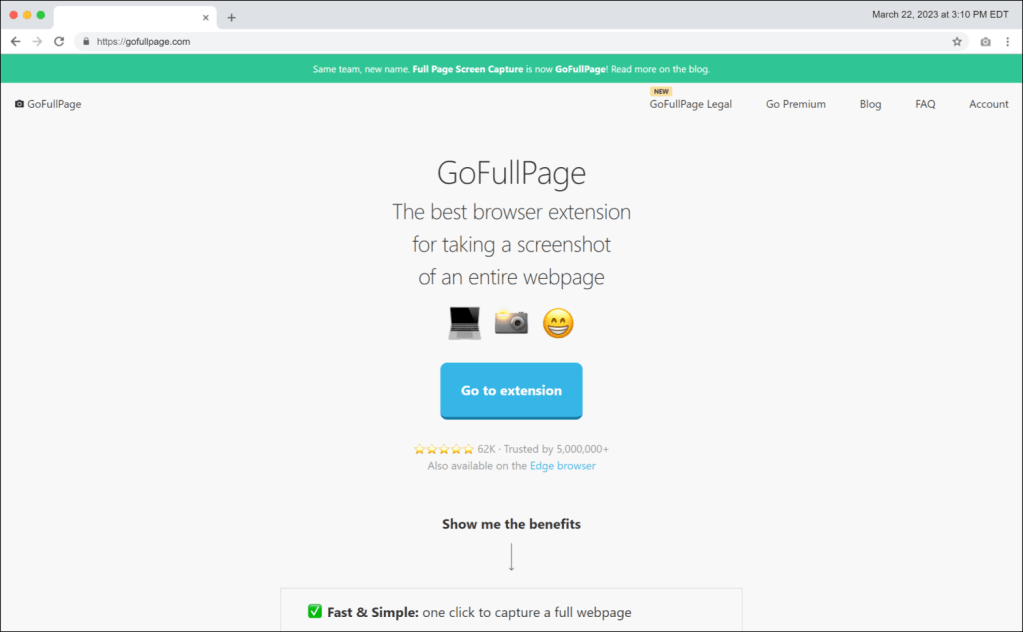
GoFullPage is the most reliable, quickest way of taking a screenshot of an entire webpage. To start screenshotting, download the free browser extension on your preferred browser: Google Chrome or Microsoft Edge.
Once the browser extension is downloaded, you can sign up for GoFullPage’s premium features. These premium features will unlock the ability to add descriptive information to your screenshots, such as a clickable URL, the datestamp, and the timestamp, in the format of your choosing.
Read on for how to apply these features ⬇️
Two ways to apply a timestamp in GoFullPage Premium
- Automate the timestamp in GoFullPage’s “Options” menu
- Customize the timestamp in our premium editor with four different formats
In Options
To automatically add the timestamp to all screenshots that you save as a PDF, visit GoFullPage’s “Options” page by clicking on the “gear” icon on the far right of the GoFullPage toolbar:

Once in the “Options” page:
- Scroll down to the “PDF” section.
- Select the “Add URL and date/time” option. This will add your screenshot’s URL and capture date/time when exporting to PDF from the main view screenshot page.
- Once selected, a new toolbar will open below that asks for the preferred Date format: Date, Date & Time, ISO, or None.

In the Premium Editor
To customize your timestamp on a specific screenshot, visit GoFullPage’s Premium Editor by clicking on the “Edit” button in the middle of the GoFullPage toolbar:

Once in the Editor:
- Click on the “Formatting” menu and select “URL/Date”.
- A menu will appear on the right.
- Select the browser rendering of your choice (Mac OS X, Windows, URL on top, or URL on bottom), and the timestamp/datestamp in your preferred format (Date, Date & Time, ISO, or None).

Click through the below slideshow to see how the URL can be rendered in different browser settings (from left to right: Mac OS X, Windows, URL on top, and URL on bottom):


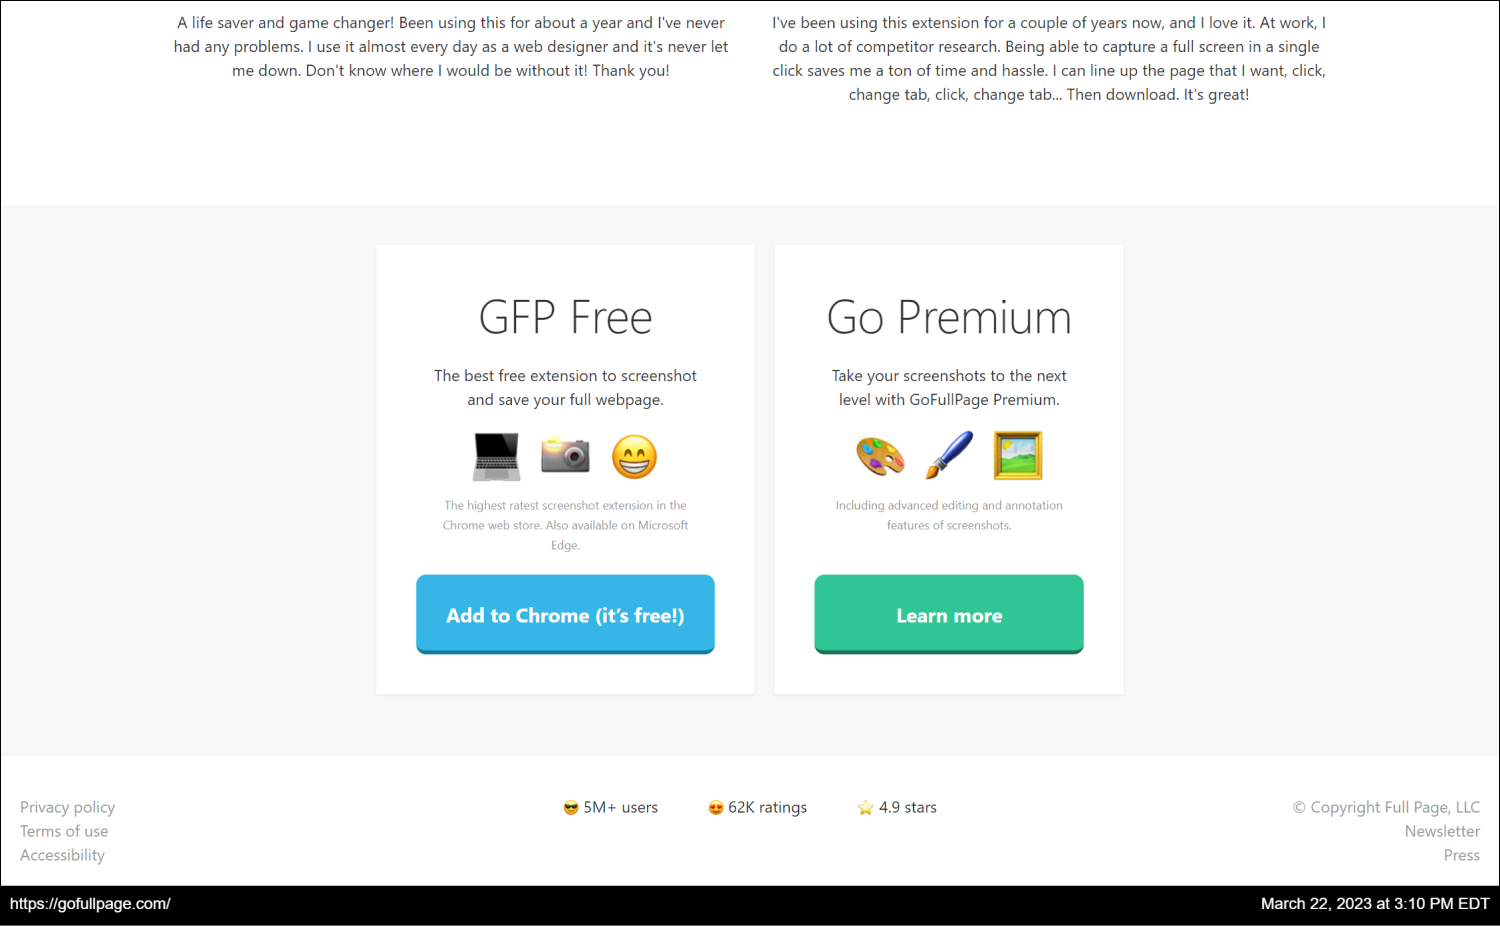
Click through the below slideshow to see how the date and timestamp can be rendered in different formats (from left to right: Date, Date & Time, and ISO):

The date and time of the datestamp and timestamp are determined by the geographical location set on your browser. We also offer ISO format so that the timestamp can be standardized to be shared with anyone across the globe!
Pro-tip: the URL is clickable!
When exporting to PDF, the URL in your screenshot will be a clickable link that will open the original page in a browser.

We hope this is a useful guide for adding timestamps and datestamps to your screenshots! Comment below with any thoughts or questions ⬇️
Helpful links
To download our free app: GoFullPage for Google Chrome or Microsoft Edge
To use our premium tools: GoFullPage Premium

One reply on “How to take a Screenshot with Time, Date, and URL”
[…] helpful tools within the Editor for aiding an accountant creating a paperwork-breadcrumb trail: clickable URL, timestamp, datestamp, and […]
LikeLiked by 1 person